
| SKU | RCD3015 |
|---|---|
| Added | 2013/10/30 |
| Updated | 2015/09/18 |
Features:
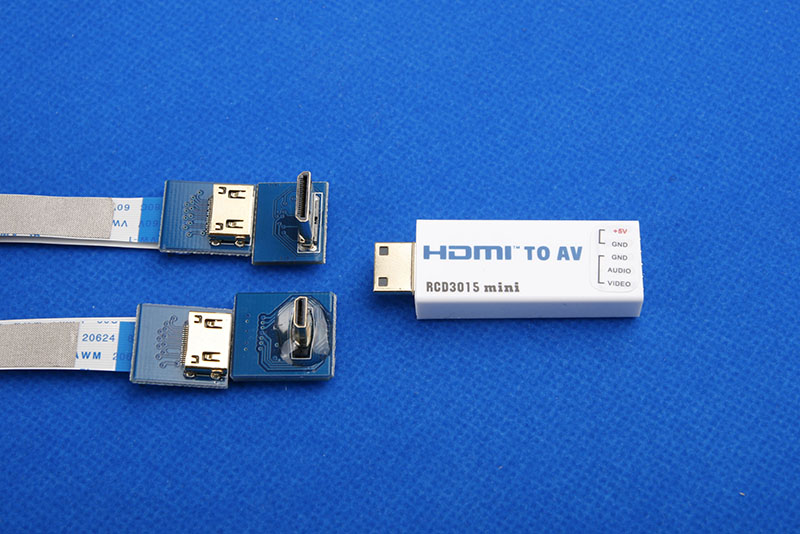
Typical application: Convert HDMI signals to A/V signals.Connect your video devices with HDMI/ mini HDMI port to video device with A/V input (like A/V wireless transmitter).
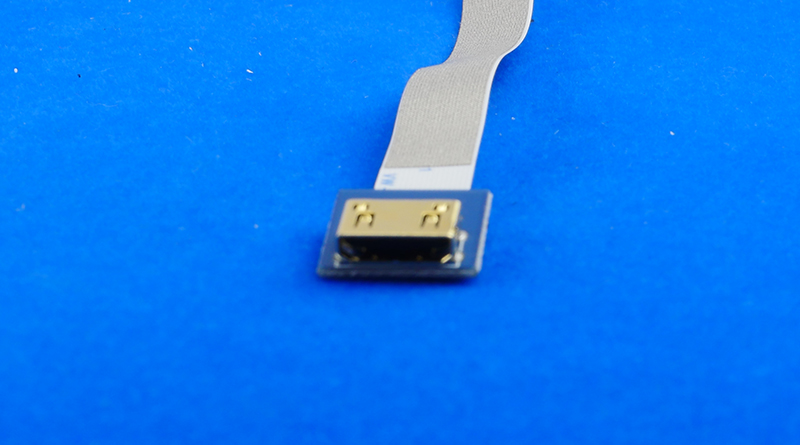
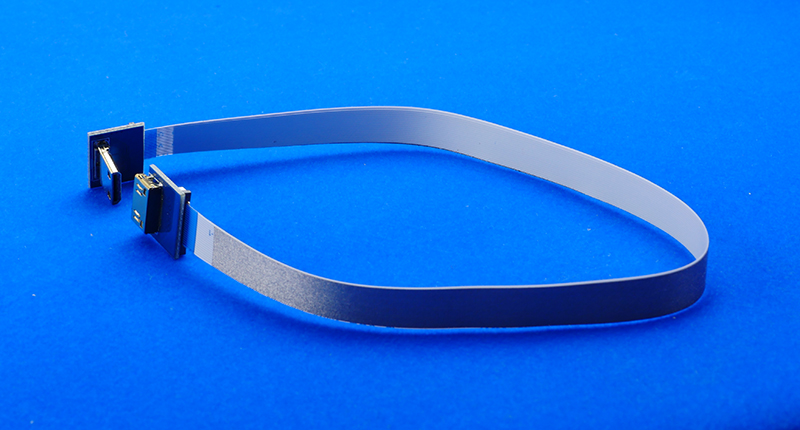
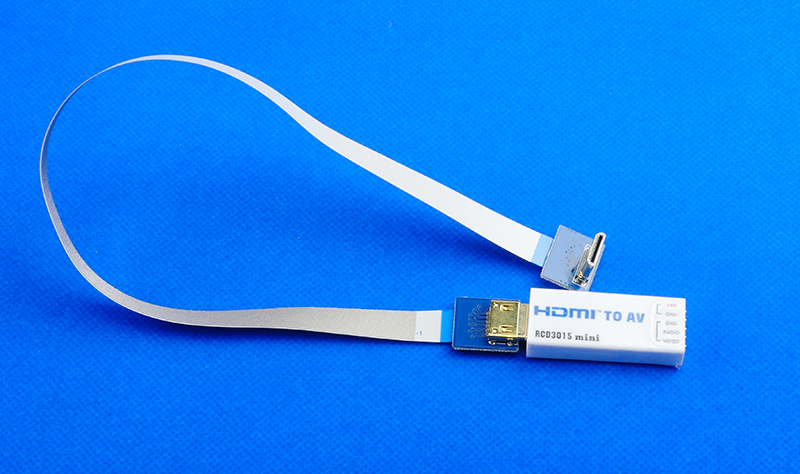
As the main module is integrated with standard HDMI port, and provided a MINI HDMI to HDMI conversion cable, so you can actually connect your devices both with standard HDMI and mini HDMI interfaces to this module.
Specifications:
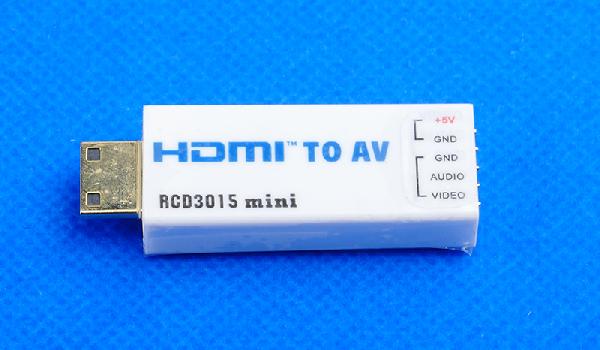
HDMI/ Mini HDMI to A/V Conversion Module RCD3015
Dimension: 45 x 21 x 11.5 mmWeight: 9g (excluding wires)
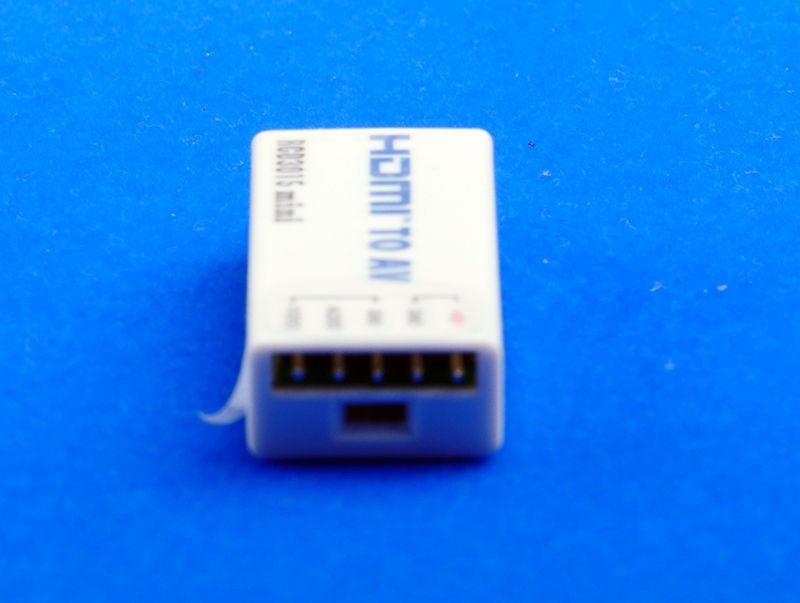
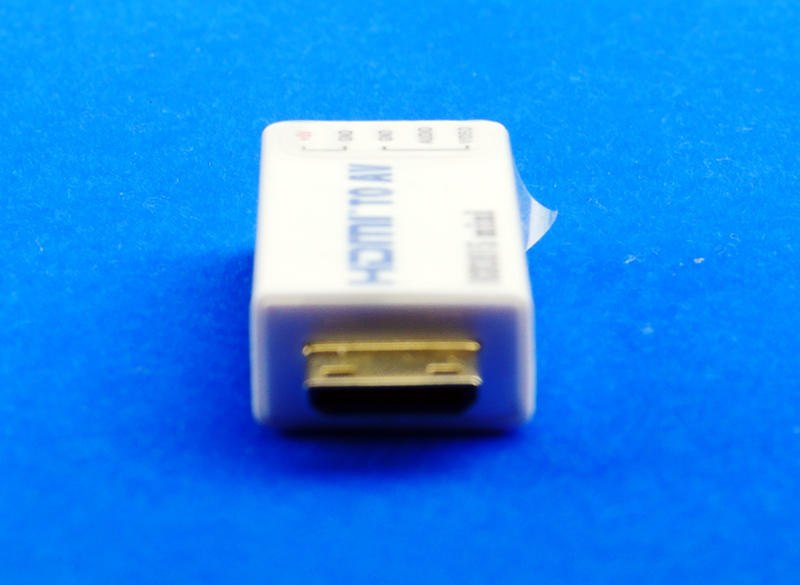
Input port type: standard HDMI, female (the module side, not the cable side)
Output Port: 3.5mm stereo type
Operating method of this item is same to SKU MNHDAV, so you can refer to http://www.himodel.com/en/rc_manuals_url.php?id=552 for operation guide.
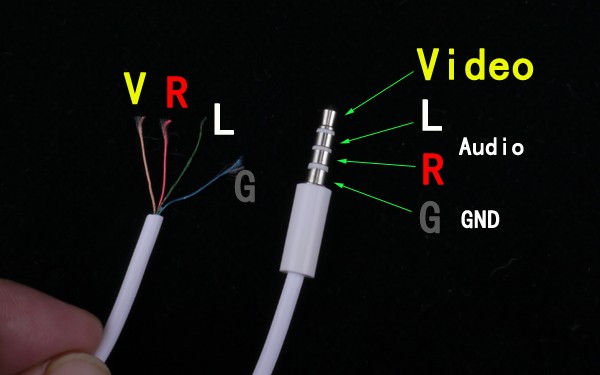
* "L" stands for audio left channel; "R" stands for audio right channel.
Hint:
To use this module, HDMI resolution setting of your camera must be set to "Auto" mode, once change the HDMI resolution setting to "Auto", both the camera and HDMI/AV conversion module must be powered off and re-powered on, you should unplug the module and plug it back again to make sure the new setting will take effect.
Cameras without "Auto" mode in HDMI resolution setting may not supported by this conversion module. Check your camera menu and see if there is "Auto" option before you order this device.
Includes/Requires:
Includes:1 x mini HDMI to A/V conversion module
1 x mini HDMI to HDMI conversion cable
* The AV 3.5mm cable doesn't included initially, and only been added since Dec. 2013.
Comments:
HINT:
Attention before using HDMI to AV converter (must follow the following steps! It fits SONY converter and Converter for General use)
1) Most importantly, don’t connect the converter or any cable to the camera before the process. Set up HDMI resolution to AUTO, saved,then quit the set up menu, and turn off the camera.
2) Connect the HDMI converter or the related cable, turn on the camera, it will work normally.
3) If no image is appeared, please check and see if the resolution set up is on “AUTO” state, that is to say, we need to check whether the step one is completed and saved or not, and then start working. If it still does not working, please repeat the step 1).
4) For those very special and few versions of cameras,according to our experience, those SONY camera sold in France, needs to set up PAL, the reason may be related with its firmware.
-------------------------
The several possibilities for problem of no image
1) Many customers normally would like to connect the converter with the camera first and then set up AUTO resolution, it is a mistake, because the set up will not be succeed in this way on most cameras.You must disconnect the HDMI converter and related cables and then do the setup, saved, and then turn off the camera.
2) There is signal output, but the screen is rolling and turning, the reason is that the output of our converter card is PAL signal, the monitor the customer are using needs be able to support PAL signal too.